Tabs deep dive: eSignature settings
See how the settings in your eSignature account affect the behavior of tabs you place in your envelopes.
Table of contents

Welcome back to the Tabs deep dive series. The previous posts in this series have focused on teaching you how to customize your documents with tabs using the eSignature REST API. In this edition we’re mixing things up and diving into a topic that isn’t specific to the API: account-wide eSignature settings.
It may not always be obvious why your tabs are not behaving as expected. If you’re creating tabs using the API and you aren’t seeing the results you want, your first instinct might be to look for issues in your code. But sometimes the answer can actually be found in your account-wide settings. Although these settings are not explicitly API-related, it’s still important to understand how they could affect the behavior of your tabs, whether you create them through the Docusign eSignature UI or through the API. In this post, I’ll be walking you through the various eSignature settings that relate to tabs and how you can manage those settings.
Note: You must have DS Admin permissions to manage any of the settings discussed in this blog post.
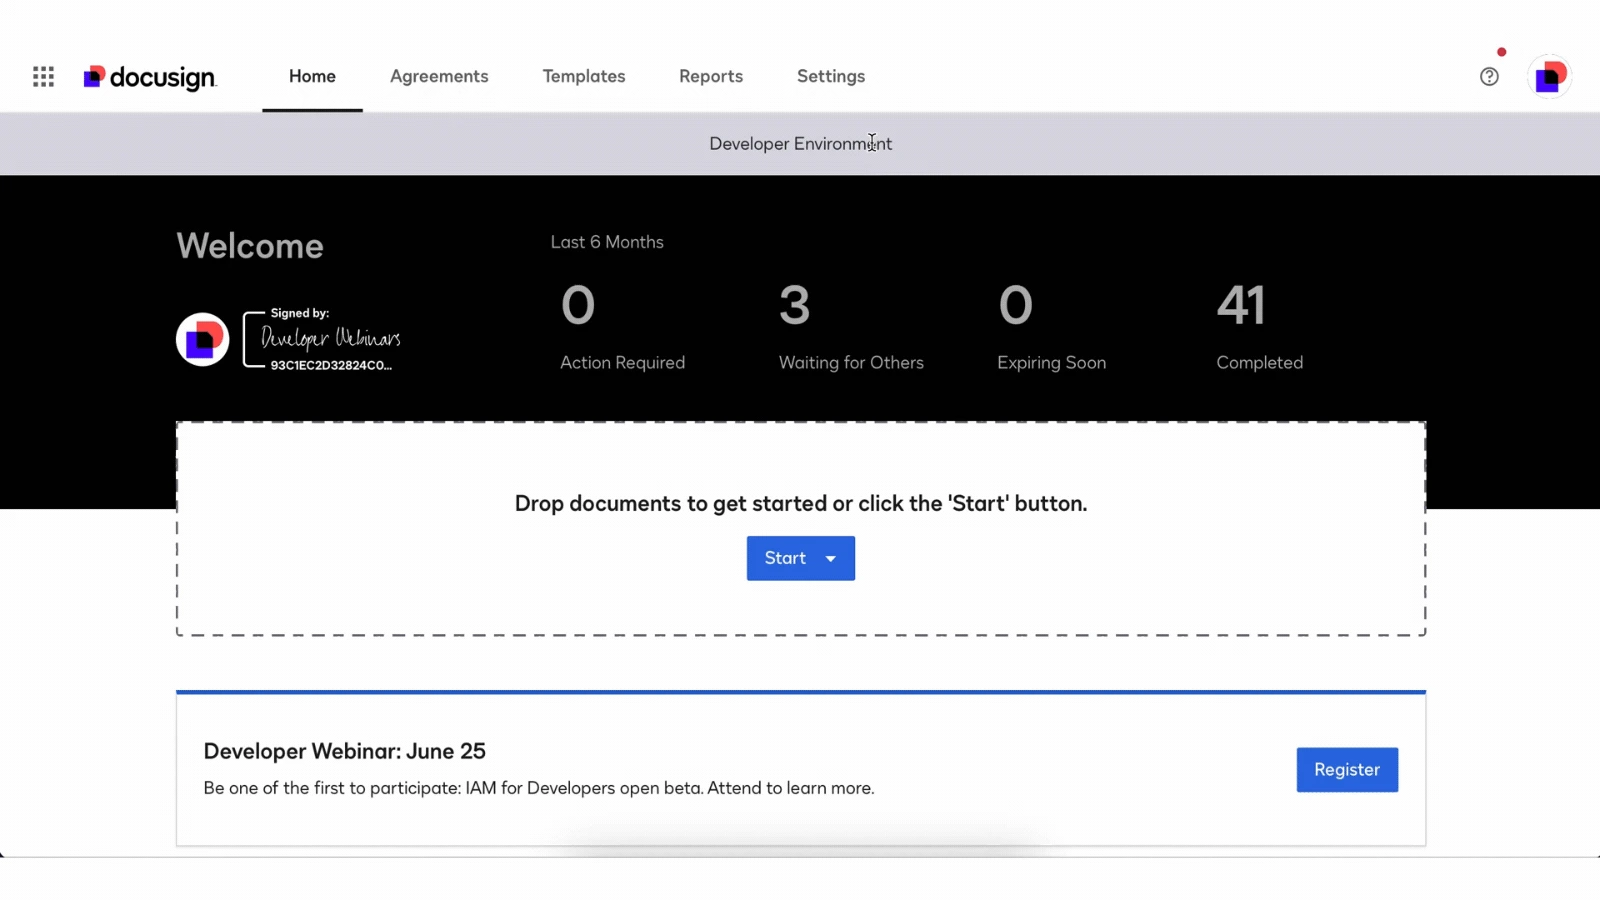
To find the eSignature settings in your Docusign account, choose Settings in the header within the eSignature application. Then, scroll down to find Signing and Sending in the side menu. There you will find many settings that manage the default behavior for all envelopes sent from your account. I’m going to walk you through those settings that relate to tabs, but you can find documentation on all of the settings in the Docusign eSignature Admin Guide. Check out the GIF below to see how to navigate to the eSignature settings in your developer account.
First, let’s take a look at the Signing Settings. The key settings to understand here can be found under Document Formatting. This is where you can choose a date format that will be applied to all Date Signed tabs. That format will also be enforced through data validation when a user completes a Date tab. You can also choose a time format if you would like the current time to be added to the Date Signed tab after the date. If you select None for the current time format, the time will not be included in Date Signed tabs. The screenshot below shows the Document Formatting section under Signing Settings.

The rest of the settings that will affect how tabs appear in your documents can be found under Sending Settings in the Fields and Properties section. The following list contains settings under this section that must be checked to enable certain optional tab types and their properties:
Enable formula field (calculated field)
Enable conditional fields
Enable signer attachment field
You will only be able to use the above tab types if they have been enabled in your settings.
You can also control the default font for tabs in the Sending Settings under Fields and Properties. Choose Edit next to Default font for fields to open the window shown in the screenshot below.

You can override these defaults when you create a tab through the API by setting the font, fontColor, or fontSize properties in the tab definition. If you don’t set those properties, the font, font size, and color will be set to the values defined by this setting.
There are two more important settings when it comes to tabs. The first is a checkbox labeled When an envelope is sent, write the initial value of the field for all recipients. When this checkbox is selected, the initial values for all tabs will be visible in the document for all recipients when the envelope is sent. If this checkbox is not selected, a value that is auto-populated or pre-filled will only appear to the recipient to whom the tab is assigned.
The final tabs-related setting is Automatically replicate information in fields with the same data label. This setting controls how data replication works for tabs that have the same data label. There are two options for this setting, as shown in the screenshot below.

Choosing on an individual document means that data will only be replicated across fields with the same data label within a single document. Alternatively, you can choose on all documents in an envelope so that data replication happens across the entire envelope and is not limited to any one document. Once you have chosen one of these options, you can set the tabLabel property on multiple tabs of the same type, and you will see the data replicate across those tabs accordingly.
The eSignature REST API is a powerful tool for customizing your document with tabs. But it’s important to understand that some characteristics of your tabs will be defined by your account-wide settings regardless of what you do with the API. Now that you understand how these settings work, you’ll be able to make sure that all of your tabs are behaving as expected.
Additional resources

Paige has been working for Docusign since 2020. As Lead Developer Advocate on the Developer Advocacy team, she writes content and code to help developers learn how to use Docusign technology, represents Docusign at community events, and supports Docusign developers on community forums.
Related posts


Docusign IAM is the agreement platform your business needs
