New code example: In Person Signer
Introducing our newest code example demonstrating sending an envelope to an in-person signer!
Table of contents

I’m very excited to announce that we have a new code example for the eSignature REST API. Our new How to send an envelope to an In Person Signer example demonstrates how to obtain a signature in person. As we move out of the global pandemic, this example will be extremely useful for the individuals and companies returning to more traditional in person signing sessions. This example is included in our Quickstart projects and can be run in eight different languages.
Use in person signing
To try out the new example, first, you need to download and run your own Quickstart project. You can find directions on how to do that here, if you need them.
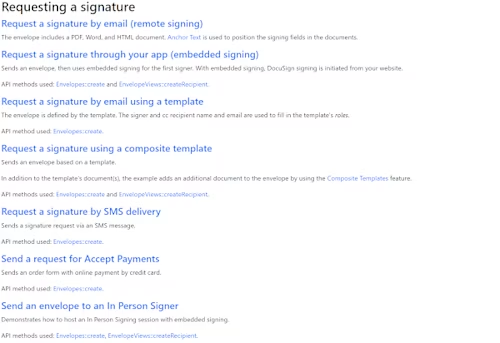
Once you’ve run your Quickstart and are at the launcher page where you choose the example to run, choose Send an envelope to an in person signer in the Requesting a signature section to launch the new example:

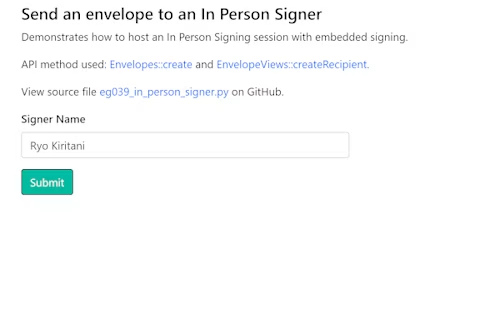
The example will prompt you for a signer name. Choose one and select Submit.

After pressing Submit, the in person signer recipient model will be created and the createEnvelope API will be called. The following Python code demonstrates this:
# Creating in person signer recipient model
signer = InPersonSigner(
            # The signer
            host_name = args["host_name"],
            host_email = args["host_email"],
            signer_name = args["signer_name"],
            recipient_id="1",
            routing_order="1",
        )

# Calling the create envelope endpoint

        api_client = create_api_client(base_path=args["base_path"], access_token=args["access_token"])

        envelope_api = EnvelopesApi(api_client)
        results = envelope_api.create_envelope(account_id=args["account_id"], envelope_definition=envelope_definition)

        envelope_id = results.envelope_id
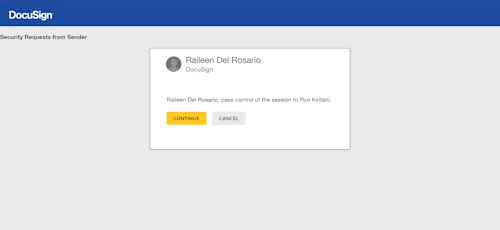
Next, the window will prompt you, as the host of the signing session, to pass the device to your signer:

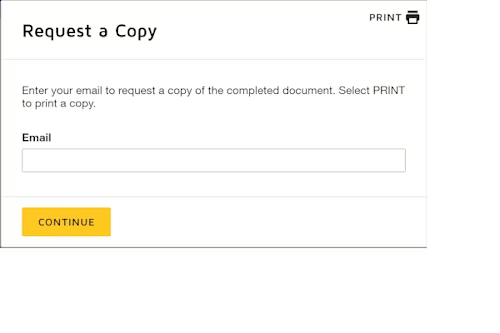
The signer signs the document, and then passes the device back to you. Upon signing, the window will also prompt the signer to enter a carbon copy address, if needed.

The signing session has now been completed. The signer, host, and carbon copy recipient will all receive copies of the signed documents.
Now that you’ve learned how this example works, feel free to try it out on your own. Read the how-to article for the example on the Developer Center. You can download the source code from GitHub in the language of your choice under Next steps in the how-to article.
Additional resources

Raileen Del Rosario has been with Docusign since 2022. As a Programmer Writer on the Developer Content team, she writes content and code to help developers learn how to use Docusign APIs.
Related posts

 DevelopersPublished Mar 21, 2025
ISV developers: Enhance your product by building a Docusign connector
 DevelopersPublished Mar 13, 2025
Docusign eSignature Integration 101: Setting the foundation

ISV developers: Enhance your product by building a Docusign connector

Docusign eSignature Integration 101: Setting the foundation
Discover what's new with Docusign IAM or start with eSignature for free


