
How to Electronically Sign Documents in Google Docs
Step-by-step instructions on how to electronically sign a document in Google Docs with Docusign. Prepare a document for signing in less than 5 minutes.
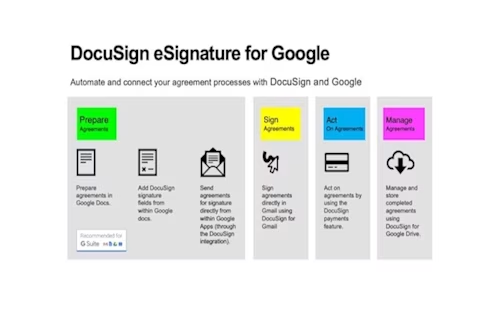
Add your electronic signature to a contract, offer letter or non disclosure agreement from a Google Doc in less than 5 min**.**
It’s easy to create an electronic signature on a Google Doc without ever leaving the application. Electronic signatures create a binding and enforceable legal contract that is widely accepted throughout the industrialized world, and more secure than traditional paper-based signatures because they’re less susceptible to forgery. Read on to discover how to do an electronic signature in Google Docs in just a few steps with this easy guide.
A step-by-step guide to electronically sign documents in Google Docs
First, install the Docusign add-on.
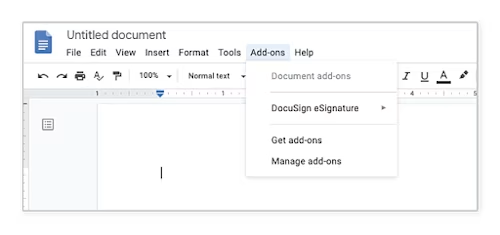
Create or open a Google Doc. Go to “Add-ons” and navigate to “Get add-ons.”
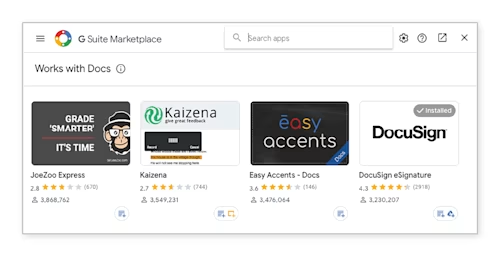
This will open up the G Suite Marketplace.
Use the G-Suite marketplace search bar and type in Docusign.
Click the plus icon for Google Docs or for Google Drive and confirm the installation. This is free.
Once the add-on has loaded successfully, you will see a new menu option on the Add-ons drop down in Google Docs called “Docusign eSignature.” Click on that and choose “Sign with Docusign.”
The first time you use the add-on, Docusign asks for permission to run. Click Continue.

Docusign then asks for permission to manage the documents in your Google Drive. Click on your account.
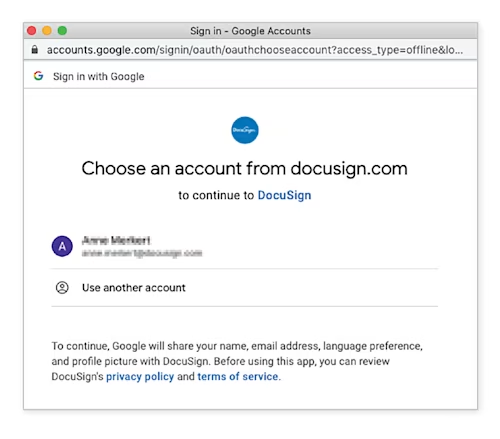
You can now use the Docusign for Google Docs Add-on to sign or send for signatures on documents.
To electronically sign a document within Google Docs
From your Google Drive account, create a new Google doc (or find and select the document you want to electronically sign).
From the open document click Add-ons in the header.
Click Docusign Electronic Signature for Docs > Sign with Docusign.
The Docusign log-in page appears. If you don’t already have a Docusign account, you can sign up for a free account by clicking the Sign up for a Docusign Account link.
Click LOG IN then enter your Docusign user name and password.
The Ready to Sign landing page appears
Note: If you are creating a new document, you must finish editing it before you can sign it.
If you haven’t finished your document, click Finish Editing to return to it.
Click START.
The Docusign landing page appears for you to select who should sign your document.
Click Only Me.
A read-only copy of your document opens, ready for you to add fields.
Drag and drop your signature and any other fields you want to use into your document.
When you’re done signing your document, click Finish.
The window closes, and within a few minutes, the completed document is added to your Drive account in a folder labeled Docusign – Completed, which is created automatically the first time you sign or send a Google doc for signature.
On the Signing Completed page, you can close the browser tab, click the next step buttons to return to Docs, email a copy of the document, see document details, or download the document to your hard drive.
Learn more about how to use Docusign eSignature with G Suite.

Related posts
Docusign IAM is the agreement platform your business needs

